27 February 2013

Hawaiian Finale Part 2

 
I still remember the heavy feeling that surrounded me as our last full day came to an end. We didn’t want to leave…none of us. I wanted to freeze time, hold it prisoner in a bottle and bury deep in the sand. I wanted to stay on that stretch of beach forever—to breathe in the salty sea air, bask in the sunlight, and drink in every ounce of goodness that this island has to offer.

We stayed on the beach until the sun began to set and our shadows grew longer. Oh how I wished this trip, this adventure, and this continuous high didn’t have to come to an end. Rudely, I’ve been reminded of the saying “nothing lasts forever”. Clearly that isn’t completely true—yes, the geography changes, but the feelings, the experiences, the memories….well, they’ll last forever.


love her faces


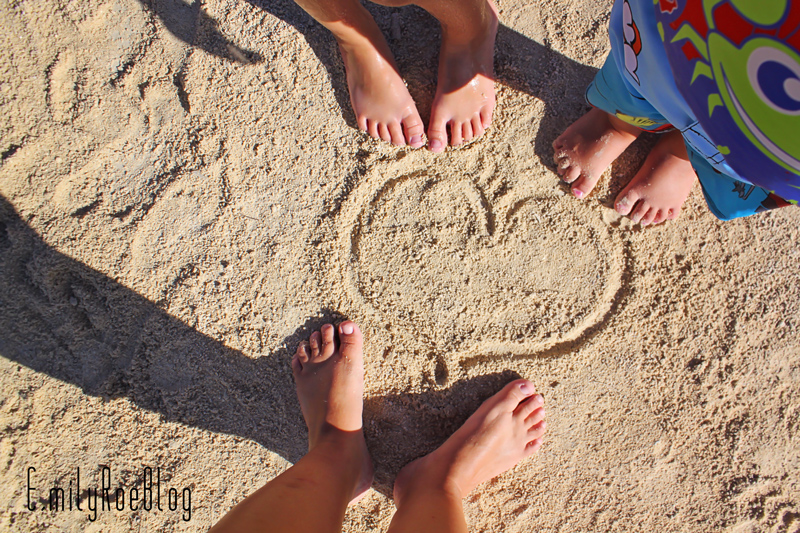
This is a picture of pure happiness.

We swam until our fingers and toes turned to prunes, then we swam a bit more. We wanted to draw out every minute of the day and pack it full of fun times.


 Mission accomplished. So many great moments were captured that evening-- moments that I want to harvest and save for days when I want to relive our experience.


Swimming at sunset was fantastic. I wish we did it more often. Seeing the sun deep, turning blue skies into shades of pink, and the water mirroring the sky, altering from turquoise to a deep shade of purple. So beautiful and tranquil. 

 she has gotten so brave

 my guppy 

 final sunset

We awoke early on the morning of our departure. We all dreaded this day, but we made the most of it. Since our flight was a red-eye, we loaded up the car with beach chairs, towels, and sand buckets and dashed down to Waikiki for one last beach day.

Bubbles on the beach? Who can argue with that?


My mom and I sat wedged in our chairs, drinking Starbucks coffee and eating fresh fruit with our toes in the sand, while the kids played in the early morning light. It was so relaxing-- a perfect way to spend our final hours.


So much of Oahu now lives within us. We’ve stashed Hawaii's way of life, their happiness, their gentle dispositions, and their charisma into pockets of our hearts. I’m eternally grateful for this amazing experience—it was beyond healing; it was life changing, and exactly what we needed to get through this deployment. As silly as it may sound, I left having fresh eyes, a brighter outlook, and a greater sense of self-worth. My children left having more confidence, cherished moments with their Mimi, and numerous happy-go-lucky island memories.


Aloha,

Em

25 February 2013

Pow-Wow Birthday Celebration

Today’s grey skies and rain are a stark contrast to this past weekend’s sunny skies and cotton-ball clouds. I’m going to go ahead and jump the gun, and claim this weekend to be one of my favorites of 2013-- it was equal parts busy and relaxing, energizing and exhausting, homebodying and entertaining-- a simple weekend filled with meaningful moments. We celebrated not one, but two very special birthdays—the birthdays of Krysta and William.

It seems like I just wrote their birthday post and here we are… another year, and another year older. Last year we opted to join their parties with a combined themed, and since they mainly share the same friends, we decided to follow suit.


This year’s theme was a Pow-Wow celebration centered around Indians and foxes. We held a small gathering to help celebrate, filling the house with sweet friends, laughter, and an overabundance of fringed garland and feathers.


Our Pow-Wow decorations were all homemade and kept simple.

Our colors were pink, blue, gold, and black.
And the main ingredients were feathers, plastic table covers, felt, twine, and natural elements such as sticks.


cupcake toppers: feather and arrowhead (cut into triangles) made out of felt, hot glued to a toothpick
cupcakes: mint chocolate
cupcake stand was reused from last year's party. tutorial here.

Cupcake Recipe

1 box of Deviled Food cake mix
1 box of instant chocolate pudding mix
1 cup of vegetable oil
3/4 cup of milk
4 eggs
24 mint oreos

1. place an oreo at the bottom of each cupcake liner
2. mix the cake and pudding mix, vegetable oil, milk, and eggs into a bowl
3. fill each liner 3/4 of the way with the mixture
4. bake at 350 for 22-25 minutes

Icing Recipe

2 packages of cream cheese
2 cups of confectioners sugar
1 stick of butter
2 teaspoons of mint extract
6 oreos crushed

1. mix all ingredients together
2. apply to cooled cupcakes


fringed garland: made from plastic table covers. fold your table cover into 4's horizontally. cut into small 2-3" vertical stripes, leaving 4" at the top. then cut your cover horizontally from end to end. you should have 4 separate garland pieces. 

table runner: 3-4 yards of burlap (not sewn, left natural, tied with twine at the ends) 


cake: I did an ombre' effect. starting with white icing and adding turquoise coloring gel to darken as I got closer to the bottom. I sprinkled the edges with edible white flakes and gold dust.


Icing Reciepe
2 packages of cream cheese
2 cups of confectioners sugar
1 stick of butter


mason jars: wrapped with twine and adorned with a feather ($3/pack) from any craft store.
paper straws from Target ($2/20 count)


food spread: hamburgers and hotdogs, chips, variety of fruit, and a variety of veggies.


utensils: spray painted the only tip of pink and blue forks, gold.
wrapped each fork in a gold napkin, tied with twine and adorned with a feather

stick centerpiece: take painters tape to section off  the areas that you want to leave natural. spray paint the exposed stick gold (or any color of your choice).


popcorn favor bags: use a gold sharpie to color polka dots on a brown paper lunch sack. tie off with a piece of twine and a feather


Indian and Fox paper dolls: by Berlin Roses purchased for $2.60. simply print, cut, and assemble pieces uses small brads.
I added gold glitter to clothespins to give it an extra punch.


Headpiece for each party guests: paint tips of feathers, hot glue to headband. to cover the raw ends of the feathers, hot glue a rectangle piece of decorative paper or fabric.


favor journals: take an 8.5x11 brown scrapbook paper, cut in half. take about 5 pieces of white computer paper, cut in half. with a sewing needle and embroidery thread, sew your sheets of paper together. to decorate the front and back, I used a gold sharpie and drew wood grain designs. I then tied a colored pencil with gift tags and twine to complete the look.

Tags from: Lilly Queen Vintage
Wooden colored pencils: World Market


small chocolates: I googled Indian and arrow images and found these two that I really liked the best. I added them to photoshop with grey chevron background. each image is sized to your candy wrapper. (please note: these images are not my artwork, another artist drew them)

invites: designed by me-- Love, Emmie


 HAPPY BIRTHDAY TO MY BABIES!!!


A special day topped off with fantastic friends.

Until next year's birthday bash...

Love,
EM